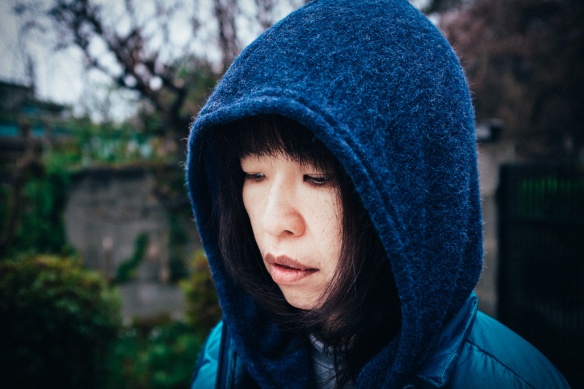
Quite pleased, as I’m now getting something useful out of the most recent VSCO pack I bought (05). Takes a little bit of tweaking, but that’s fine. So, money not wasted after all?
Fujifilm X-Series Thoughts
Thoughts on the Fujifilm X Series Cameras & lenses, and related items


The end result is beautiful I must say. I love Capture One, but unfortunately not many third party products supporting it. Do you use VSCO styles directly from C1 or you do a trip in Photoshop/Lightroom for that?
LikeLike
Hiya!
I too love Capture One. I find it gives the nicest results from the Fujifilm X-Series RAW files. I’ve tried Lightroom, Capture One, Aperture and Iridient Developer, and my feeling is this – overall Capture One gives the most pleasing results. Sure, you can pick apart some aspects and show, at a pixel level, where other developers might do an arguably better job at some specific subset or localised aspect, but in the end it all comes down to overall rendering, and that’s where I find Capture One to be the winner. It’s all a bit subjective really though, so whatever makes people happy is best I guess.
My basic and admittedly somewhat illogical workflow is to open the RAW file in Capture One Pro and develop it to give a reasonably finished looking result at a global level. In other words, I develop globally at this stage and don’t do any local adjustments. I go for a moderately flat rendering, but not as totally flat as others might do. I aim for some global approximation of how I want the finished result to be. Some people develop really flat with the intent of having the greatest possibly leeway in other programmes. I kinda follow that approach, but aim to get much of what I want for the next stage, so I don’t need to take things too far in the resulting file (since it will be a TIFF, which while being far far better than a jPeg is still not as flexible as the original RAW file).
Then I export as a full sized 16 bit TIFF and import that into Lightroom. To tell the truth, I in part don’t really know why I do this. Maybe I should try to do everything in Lightroom to save myself the effort, as that would seem logical. In part, it would make sense to work on the RAW file all in one programme. However, I really do see a difference and prefer the results I get in the initial rendering from Capture One, and also, to be honest, as I have a significant investment in Capture One (from the days when it really was the only acceptable game in town if you wanted to work with RAW), I don’t want to abandon it and essentially give up on the investment.
Once in Lightroom, I (typically) apply a little extra global adjustment if needed and then also local adjustments. These go back and forth a lot, as I play with things to see what looks the best, and sometimes the global stays at the new settings, and sometimes it ends up essentially back to what came out of Capture One.
It is in Lightroom that I use the VSCO presets. I tend to make a version with global and local adjustments first to get it where I want (as mentioned above). Then I make a virtual copy and apply a VSCO preset. This will often overwrite some of the global adjustments with the preset’s own if it uses the same global controls, but I can usually quickly tweak these if I don’t like what has happened. Then, I go over any of the local adjustments that need post preset tweaking to make them fit better with the new VSCO preset results. Then I’m done.
Except for making more virtual copies to experiment – sometimes I wish digital did’t make it so easy to finely vary things, so I could make a faster choice 😉
Hope this helps. I might post it as a regular blog entry too.
LikeLike
Hi again.
I should add, I made my initial response to you into a slightly longer and more detailed blog entry here.
LikeLike
Pingback: VSCO Film, Lightroom, Capture One Workflow Thoughts | Fujifilm X-Series Thoughts